
Difficulty
Moderate
Steps
7
Time Required

User-Contributed Guide
This guide is not managed by the site's staff.
Quiz
0
-
-
The four bolts shown fit into the two halves of the toolhead body. These will be the mounting bolts for the Dragon Hotend, later in this guide.
-
-
-
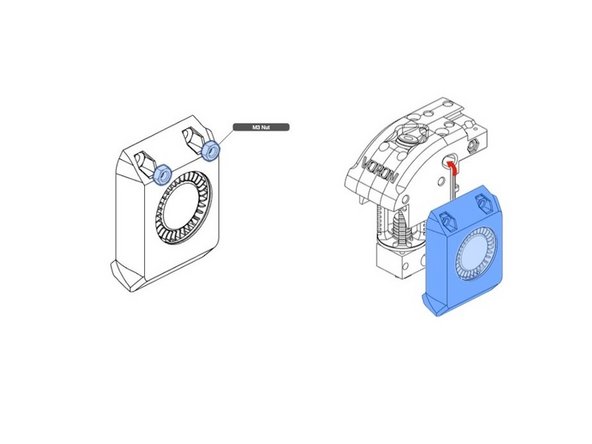
Insert collet into one half of the body.
-
Close the two body halves around the collet. Secure with nut and bolt, as shown.
-
-
-
Bolt in the Dragon Hotend with the previously installed screws. Orient the heater block as shown for proper fit.
-
-
-
Ensure that the fan shroud openings are clear and smooth. Since the parts are printed without supports, there may be strands of filament in the air path. Use a knife to clear and smooth the airways.
-
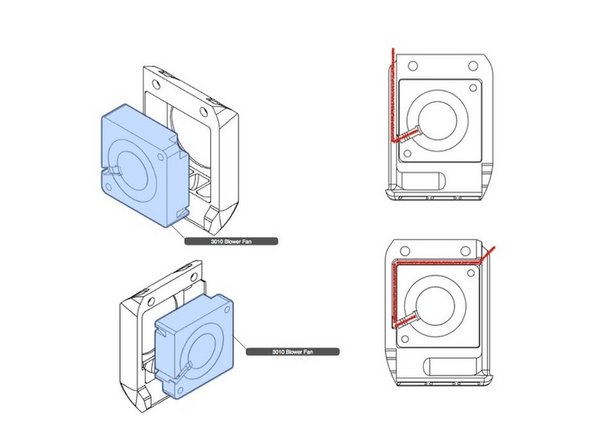
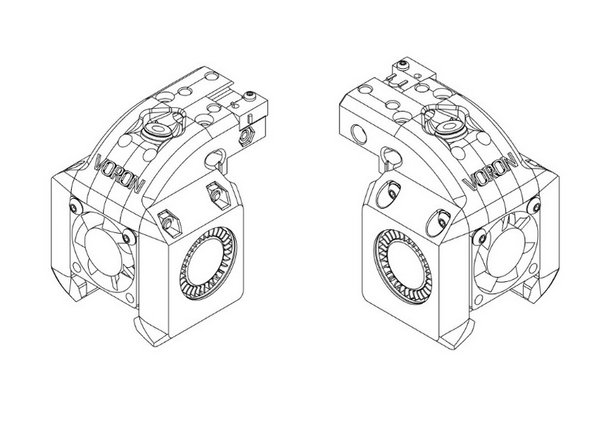
Slide part cooling fans into their housings. Note the wire routing for each fan.
-
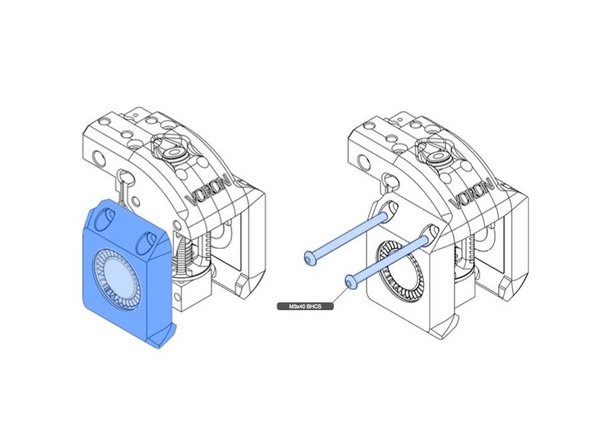
Secure the fans with the long bolts with nuts, across the toolhead body.
-
-
-
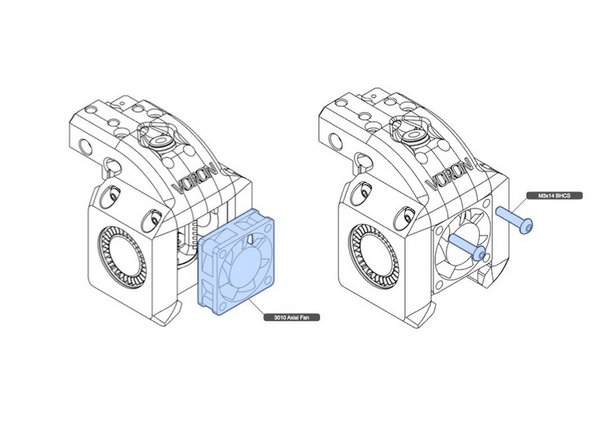
Install hotend heatsink fan, as shown. The bolts screw into plastic. Avoid over tightening.
-
-
-
Install the micro switch. Just one self-tapper screw is used, as shown.
-
If your micro switch comes with a level over the switch, it should be removed.
-
-
-
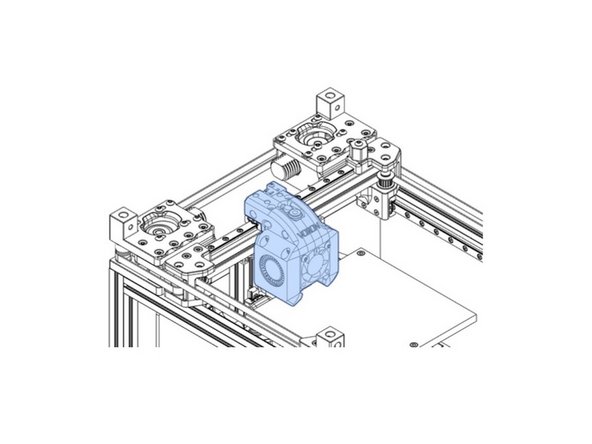
The two long screws attach the toolhead to the belt retention block, and the four shorts screws to the linear rail cart.
-
With those screws installed, Congratulations!, you have built and installed the Dragon toolhead.
-


Cancel: I did not complete this guide.
2 other people completed this guide.