
Difficulty
Moderate
Steps
9
Time Required

User-Contributed Guide
This guide is not managed by the site's staff.
Quiz
0
-
-
You should square joints on a flat surface, now, but final squaring will be done after the frame is fully assembled.
-
Note in the illustration the version of drilled extrusion being used for the bottom piece. You will need two of these, one in this step, and one in the next step.
-
The vertical extrusion is drilled with 7.5mm spaced holes at both ends.
-
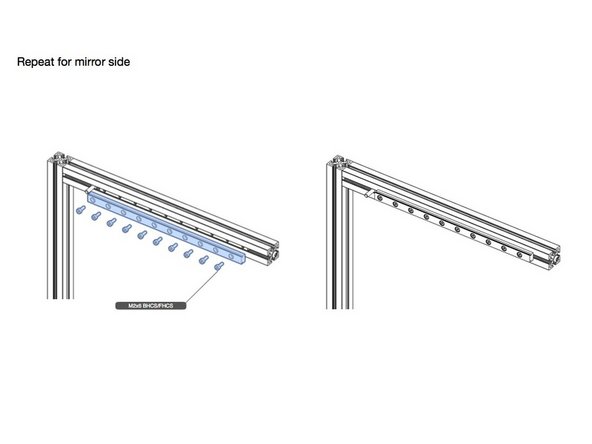
NOTE: Steps 1-3 will be done twice, once for each side of the printer.
-
-
-
Install the top extrusion similarly as the bottom.
-
As before, the printed M2 nut holders are sensitive to elephant foot. Be prepared to have to trim them slightly with a hobby knife and/or take care inserting them so they don't snap.
-
-
-
Attach the rails like you did before.
-
REMEMBER: The linear rail carts are NOT removed. Not as shown in the illustration.
-
When this step is complete, roll back two steps and repeat assembly for the other side.
-
-
-
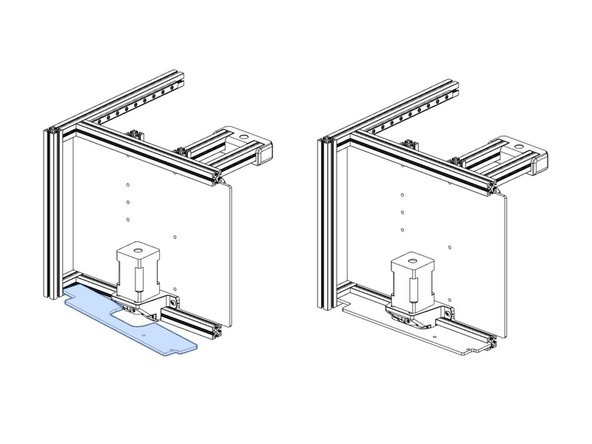
Insert the bottom panel, now, before installing both side frame assemblies.
-
-
-
Make sure all panels are slotted correctly, and attach second side frame, as shown..
-
-
-
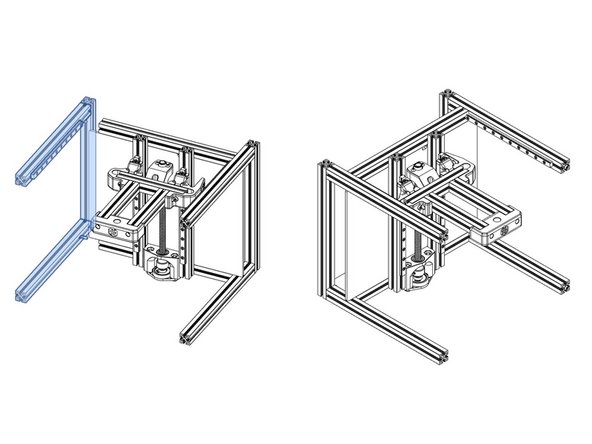
The beams used in this step are drilled through on both sides on one end, and only on side at the other end. There are only two such beams in the set.
-
Install front beams in the familiar blind joint fashion as elsewhere in this guide.
-
NOTE: The term "beam" will be used synonymously with the term "extrusion", and in some cases will include a linear rail. So a beam is single extrusion, or an extrusion and linear rail combination.
-
-
-
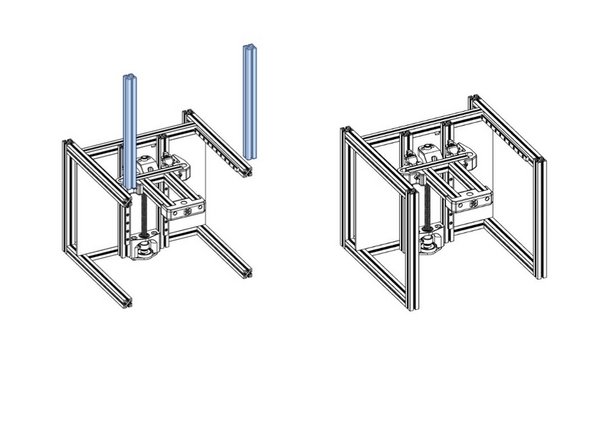
Install the end screws for the blind joint, and slide into position. Tighten loosely, as final tightening will be done in the frame alignment section.
-


Cancel: I did not complete this guide.
4 other people completed this guide.