-
-
Your machine should be powered up, with the controllers disconnected from the Raspberry Pi.
-
Connect the X/Y/E to the Raspberry Pi
-
Open an SSH terminal, and issue the following command ls /dev/serial/by-id/
-
Copy this line to notepad on your PC. Make sure to note somewhere that this is the X/Y/E MCU.
-
-
-
Plug in the Z controller to the Raspbery Pi.
-
Issue a command in your SSH terminal, ls /dev/serial/by-id/
-
Note the new ID that shows up. You will also see your X/Y/E controller show up.
-
Copy this new ID to your notepad, and note that it is the Z controller.
-
-
-
Open your printer.cfg file in whatever editor you feel comfortable with. My preference is to use nano via a SSH terminal, but if you prefer to use WinSCP you're welcome to do so.
-
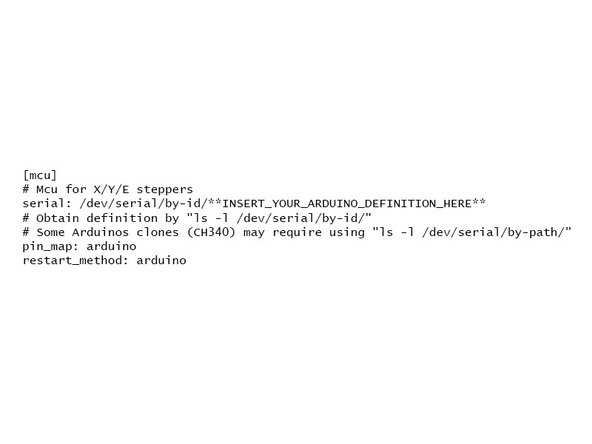
In the section [mcu] on the line starting "serial:", copy the path you copied to your notepad for the X/Y/E controller.
-
Be sure you have the whole path as outputted by the terminal. It requires /dev/serial/by-id/ at the start.
-
-
-
In the section [mcu z] on the line starting "serial:", copy the path you copied to your notepad for the X/Y/E controller.
-
Be sure you have the whole path as outputted by the terminal. It requires /dev/serial/by-id/ at the start.
-
Cancel: I did not complete this guide.
One other person completed this guide.


![In the section [mcu z] on the line starting "serial:", copy the path you copied to your notepad for the X/Y/E controller.](https://d3t0tbmlie281e.cloudfront.net/igi/voron/vYvFnGapIcmCoJNg.medium)
