
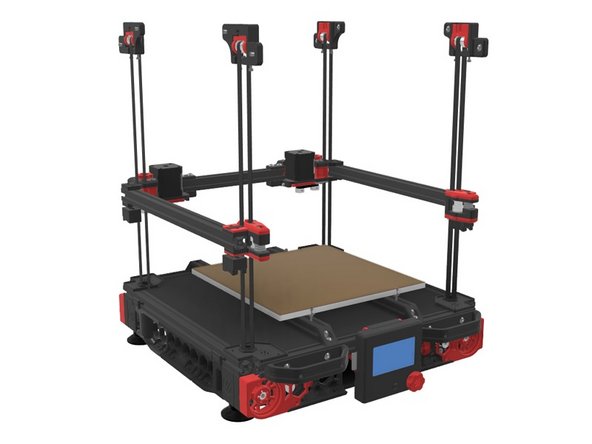
Tools
Parts
No parts specified.
-
-
Open your printer.cfg file
-
Find the [printer] section and modify max_z_velocity: 25 to max_z_velocity: 15
-
Issue a firmware_restart in the OctoPrint terminal.
-
-
-
If using a ramps board, ensure the VREF of your Z stepper drivers is set to .98V
-
You must have active cooling on your stepper drivers, or you may have issues with missed steps.
-
If using an SKR with 2209 drivers, set your UART current to 1.0
-
-
-
Decide on one Z belt for your reference. Tension it by feel to where you want it. These can be a bit tighter than your XY belts, but you don't have to go crazy.
-
Pluck the outer belt as a sound reference.
-
Set the remaining 3 belts using this tone as a reference. Come back to it often, plucking the reference belt and checking the remaining 3 belts, adjusting as required.
-
Ensure all retaining bolts are secured.
-
-
-
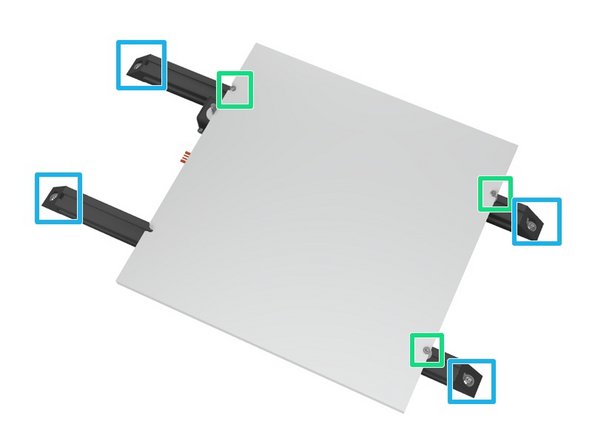
Loosen but do not remove the 3 M3 bolts holding your bed down.
-
Loosen but do not remove the 8 bolts that hold the OpenBuilds corner brackets to the extrusions.
-
Heat your bed to 105C for 30 minutes.
-
Carefully lift and drop the build plate to seat the extrusions. 3 or 4 times is more than adequate.
-
Tighten the build plate M3 screws while still hot.
-
Tighten the bolts that hold the OpenBuilds corner brackets to the extrusions.
-
-
-
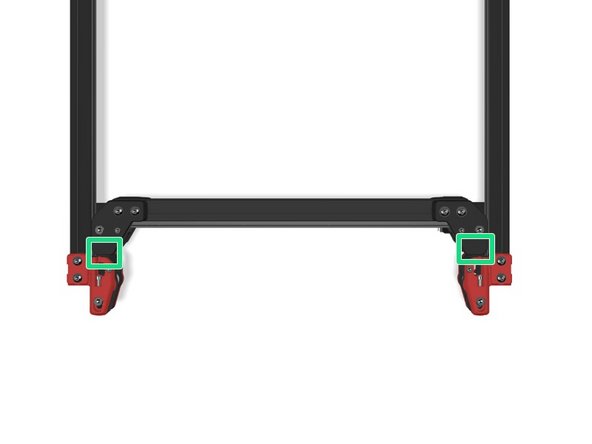
With the motors off, move the gantry all the way forward so the extrusions hit the front idlers.
-
Check each side to make sure there is no play between the idler and the extrusion. You should not be able to pinch either side and have it move.
-
If one side does have play in it, tighten the belts on the same side front idler.
-
Move the gantry all the way to the rear, and all the way forward again. Recheck the gap and adjust as required until the gantry hits both idlers equally.
-
-
-
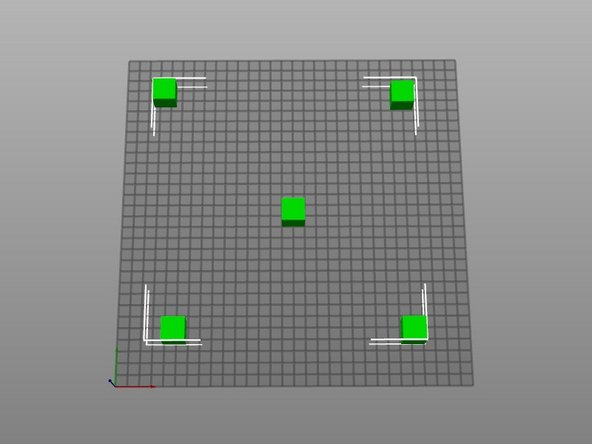
Start by printing a 5 cube grid. You can download the Visual Method Cube here.
-
Arrange the cubes as per the help image. You want a center cube, and one on each of the 4 corners.
-
Print this test using the first cube as a first layer reference. You can adjust your layer height until that center cube prints the way you want it, and then continue to allow the other 4 to print to verify if your machine is now printing properly.
-
-
-
If this guide wasn't enough to get you printing, check the community Discord and ask in #voron_v2_build-help
-


Cancel: I did not complete this guide.
2 other people completed this guide.
