Introduction
Guy Sheffer maintains “OctoPi”, a Raspbian (and thus Debian) based SD card image for the Raspberry Pi that already includes OctoPrint plus everything you need to run it:
* OctoPrint plus its dependencies
* MJPG-Streamer for live viewing of prints and timelapse video creation, compatible with various USB webcams and the Raspberry Pi camera
Recommended hardware: Raspberry Pi 3B.
Please note that the Raspberry Pi Zero W is not recommended since severe performance issues were observed, caused by the WiFi interface when bandwidth is utilized (e.g. the webcam is streamed), negatively impacting printing results.
Thomas Sanladerer created a great video guide on how to get OctoPi 0.12 up an running.
Tools
No tools specified.
Parts
Video Overview
-
-
You can download the latest OctoPi image via the following link.
-
-
-
-
Download and install Etcher. This will allow you to write the image you just downloaded to the SD card for your Raspberry Pi.
-
-
-
-
Unzip the image and install the contained .img file to an SD card using Etcher. Do not at any point format the SD from your Operating System, even if prompted to do so - that will break it and you’ll have to start over. Just use Etcher to flash the .img file, that is enough!
-
-
-
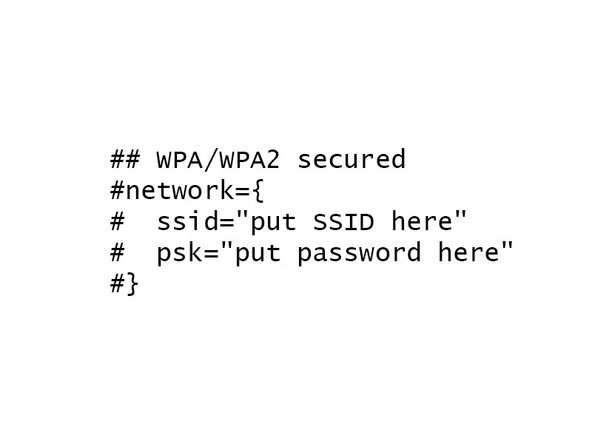
Configure your WiFi connection by editing octopi-wpa-supplicant.txt on the root of the flashed card when using it like a thumb drive.
-
Important: Do not use WordPad (Windows) or TextEdit (MacOS X) for this, those editors are known to mangle the file, making configuration fail. Use something like Notepad++, Atom or VSCode instead or at the very least heed the warnings in the file.
-
-
-
Boot the Pi from the card.
-
Locate the IP address of the device. In most cases, you can open a command prompt on your computer and type "ping octopi.local".
-
Alternatively, if you have a monitor connected to your Raspberry Pi, you can see the IP address on the main boot screen.
-
-
-
Log into your Pi via SSH (it is located at octopi.local if your computer supports bonjour or the IP address assigned by your router), default username is “pi”, default password is “raspberry”.
-
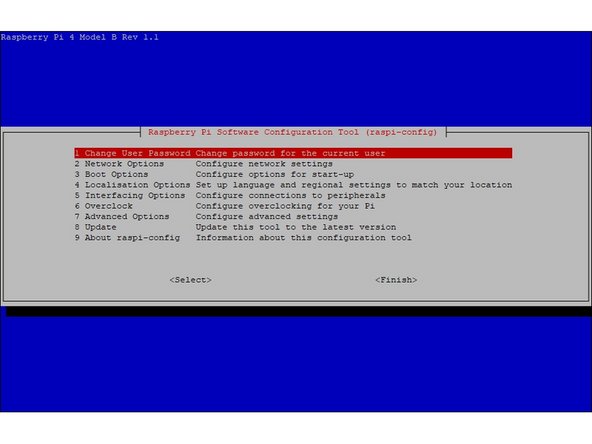
Run sudo raspi-config
-
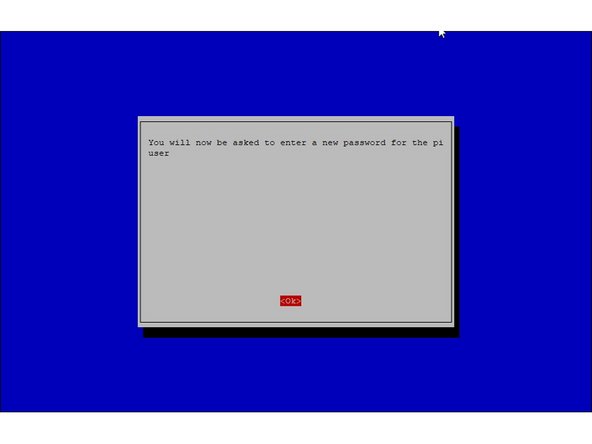
Change the password via “Change User Password”
-
Optionally: Change the configured timezone via “Localization Options” > “Timezone”.
-
Optionally: Change the hostname via “Network Options” > “Hostname”. Your OctoPi instance will then no longer be reachable under octopi.local but rather the hostname you chose postfixed with .local, so keep that in mind.
-
-
-
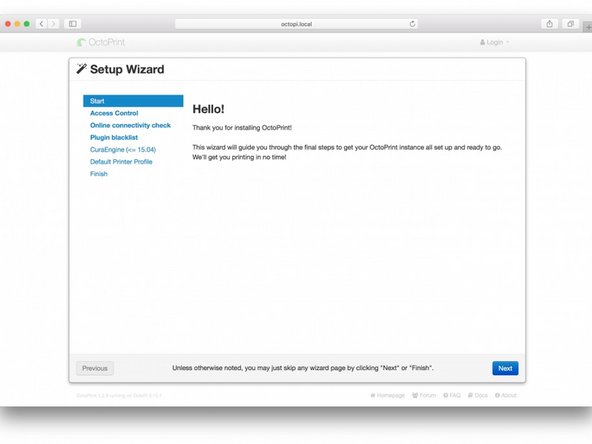
Access OctoPrint through http://octopi.local''' or http://<your pi's ip address>'''
-